Category Archives: blog
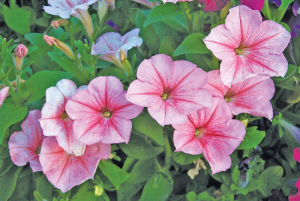
The Secret to Bigger Blooms: Deadheading, Pruning and Pinching Explained
If your plants are healthy but not blooming like they should, the issue is rarely [...]

Keep Hanging Baskets Full All Season
Hanging baskets look amazing in May. By mid summer, some start to thin out, stretch, [...]

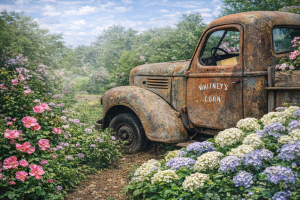
Hydrangea Care 101: What to Know Before Planting
Hydrangeas are one of the most popular flowering shrubs for a reason. Big blooms, bold [...]

Raised Beds vs In Ground Gardening: Which Is Right
Starting an edible garden is exciting, but one of the first decisions you will face [...]

Plant a Pollinator Garden This Spring
A Beginner Friendly Guide Spring is the perfect time to give your garden a purpose [...]
Now Hiring at Whitney’s Farm Market & Garden Center
Whitney’s Farm Market & Garden Center is now hiring for seasonal and part time positions [...]

Fruit Tree Care in Early Spring
When to Prune, When to Wait, and How to Protect Your Harvest Early spring is [...]
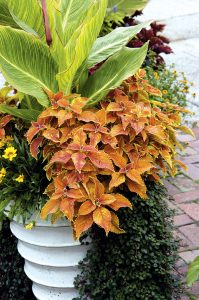
Container Gardening Refresh for Spring
Reusing Soil Safely and Creating Beautiful Thriller Filler Spiller Planters Container gardening is one of [...]

Composting Basics for Homeowners
What to Add, What to Avoid, and How to Use Finished Compost in Beds and [...]

Why Winter Is the Best Time to Work With a Garden Designer
Winter may look quiet outside, but behind the scenes it is one of the most [...]