Category Archives: blog

Storing Dahlias for Winter
Tips for storing your dahlias Dahlias tubers can be enjoyed for years with proper handling [...]


Are You Out of Your Gourd?
If you love to grow vegetables, but find you can never eat all your garden [...]

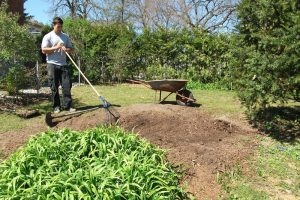
Re-Invigorate Your Lawn
Is your lawn looking weak and thin? Overseeding can help you get back to the [...]

Fall is the Best Time For Planting!
Every gardener knows it. Fall is for planting. From the cooler weather and heaps of [...]

Choosing the Right Type of Fertilizer
In general, plant foods fall into one of two categories: (1) Synthetic Fertilizers and (2) [...]


All About Native Plants
What is a native plant? Seems like a simple question, right? It turns out that [...]
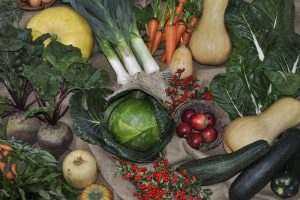
When, How, and Why to Plant Fall Vegetables
Summer is still going strong, but fall is on the way! Are you planning to continue [...]