Category Archives: Garden Blog
Beautiful Bulbs…Easily!
Part of the allure of gardening is the anticipation. There is nothing more intoxicating than [...]
Mum Basics
Chrysanthemums (mums) are one of the most popular fall flowers for the garden. Most [...]

Lawn Care Tips for the Dog Days of Summer
As your lawn endures the trials of Job this summer-drought, pestilence and disease-you must hold [...]

Featured Houseplant: Aloe Vera
The aloe vera plant is an easy, attractive succulent that makes for a great indoor companion. [...]
Fall Container Garden Ideas
Now is a good time to start thinking about Fall garden containers. Check out this [...]

Fighting the Blues
St. John the Baptist, the New Testament healer, lends his name to St. John’s wort, [...]
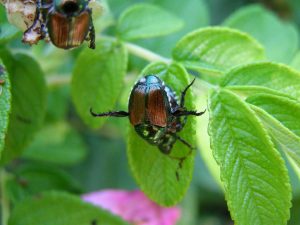
BUG OFF! Nature’s Way
Not all insects are harmful to your garden; in fact, many are beneficial and are [...]
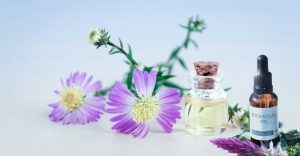
Gardens That Heal
Planting medicinal herbs is an ancient practice. Earliest accounts date back more than 6,000 years, [...]
Plant a Bee-autiful Garden!
More and more gardeners are anxious to plant a bee garden. By planting a bee garden, [...]