Category Archives: Garden Tips
Water Garden Care: Fall-Winter
Cleaning the Pond (Sept-Nov) Clean out any debris that may have fallen into the pond [...]
Amaryllis Planting and Care
Amaryllis Quick Tips: Planting Period: October until the end of April. Flowering Period: Late December [...]
Planting a Live Christmas Tree
Family traditions are a big part of the holiday season. Many families have created landscapes [...]
Keep that greenery fresh this holiday season
The holiday season is fast approaching and soon it will be time to deck the [...]
Bonsai for Beginners
“Bonsai is not a race, nor is it a destination. It is a never-ending journey.” [...]
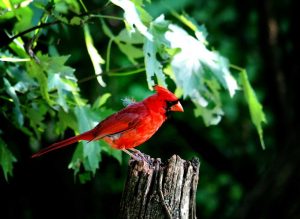
Birds in the Garden: Creating a Haven for Colorful Birds in Your Yard
Birds bring many benefits to our lives. They fill our gardens with song, bring a [...]
Crazy Pumpkin Carving Ideas
We thought we would share some of the most elaborate and create approaches to creating [...]
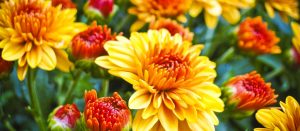
October Tips
Mulch in spring-planted trees and shrubs. Don’t permit them to get too dry; water [...]
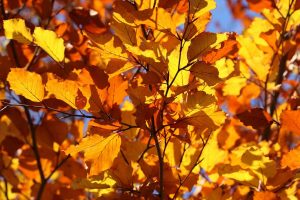
Great Looks for Fall Color
Fall is right around the corner and it is a glorious time. The countryside is [...]
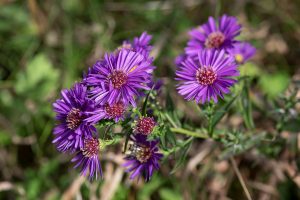
September Tips
Fall is a great time to plant trees, shrubs, bareroot perennials and bulbs. Start pansy [...]