Category Archives: News and Tips
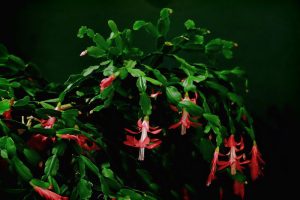
Caring For Christmas Cactus
Christmas Cacti are easy to grow. When they bloom, they produce colorful tubular flowers [...]

Lawn Care Tips for the Dog Days of Summer
As your lawn endures the trials of Job this summer-drought, pestilence and disease-you must hold [...]
Growing flowering plants from seed: Easier than you think!
Do you envision your garden to be a lush haven with an abundance of healthy [...]

How to Attract Birds
Overview of the Four Requirements for Attracting Backyard Birds Wild birds require four things to [...]
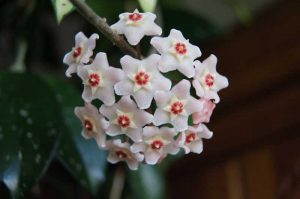
Houseplant of the Month: Hoya
Hoya have been popular house plants for decades and with good reason. They are extremely [...]

Seeds of Joy
Starting plants from seeds is a fun and easy way to stretch those gardening dollars. [...]

Houseplant of the Month: Anthuriums
Anthurium Care Family: Araceae Common Name: Flamingo Flower, Tail Flower, Painted Tongue Plant Botanical Name: [...]


Give the Gift of Gardening
…and you never have to worry about getting the wrong size! Selecting gifts for family, [...]