Category Archives: Garden Tips


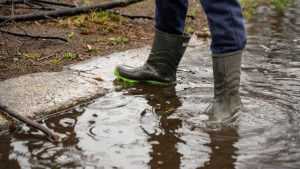
Improving Soil Drainage
The rising temperatures of Spring are right around the corner, and with it comes the [...]

A Greener Lawn Is In The Bag!
Fertilizing Your Lawn A greener lawn just seems to make you feel better. It makes [...]
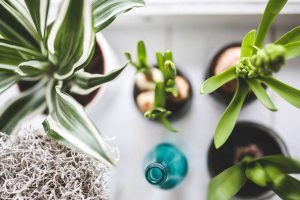
April’s Featured Houseplant: Calathea
The Calathea plant is a popular plant used for indoor office decoration purposes. It is often used [...]

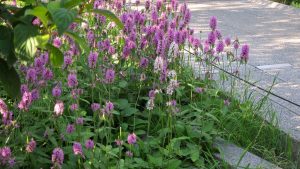
Got Spring Fever? Visit the flower gardens at Keukenhof in Holland!
Have a bad case of Spring fever? Let’s go to Holland! Ok, maybe we all [...]