Category Archives: Garden Tips

Choosing the Right Type of Fertilizer
In general, plant foods fall into one of two categories: (1) Synthetic Fertilizers and (2) [...]


All About Native Plants
What is a native plant? Seems like a simple question, right? It turns out that [...]
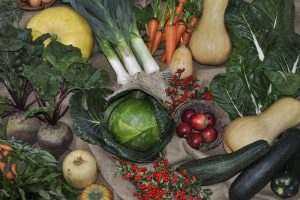
When, How, and Why to Plant Fall Vegetables
Summer is still going strong, but fall is on the way! Are you planning to continue [...]


Lawn Care Tips for the Dog Days of Summer
As your lawn endures the trials of Job this summer-drought, pestilence and disease-you must hold [...]
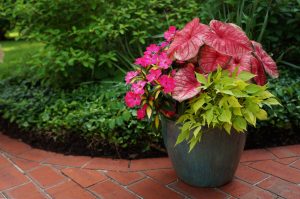

Summer Gardening Tips
There are tricks to keeping that midsummer gardening going full tilt! By now, you should [...]
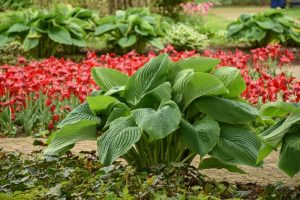
Hosta Care
Hosta is virtually carefree and comes back reliably year after year. Hardy in USDA zones [...]
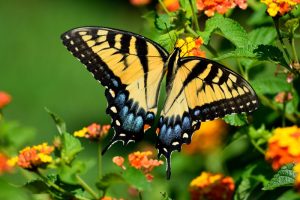
Create a Butterfly Garden!
Butterfly gardens provide food and sanctuary for many vibrant species of Lepidoptera. This type of [...]