Category Archives: Garden Tips
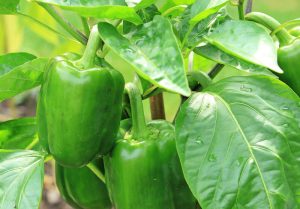
Planting, Growing, and Harvesting Bell Peppers
Peppers are a warm-season crop that comes in a variety of colors, shapes, and sizes. [...]
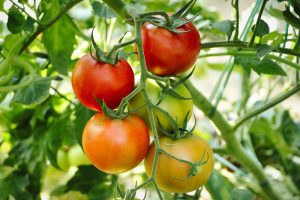
About Tomatoes
When growing tomatoes and reading about them—on our website, store signs, and plant tags—you eventually [...]
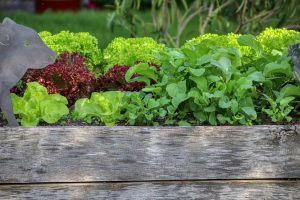
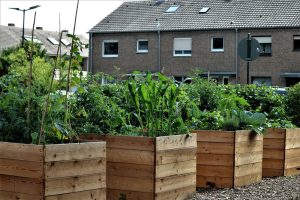
Raised Bed Gardening
Raised bed gardening is a simple technique that can improve the health and productivity of [...]

How to Sow Seeds Outdoors
Seeds that are very large or fast growing are commonly sown directly outdoors where they [...]
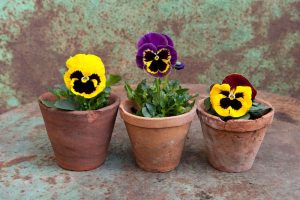
How to Plant, Grow, and Care for Pansies
Pansies are the colorful flowers with “faces.” A cool-weather favorite, pansies are great for both spring and [...]
Growing Guide to Summer Flowering Bulbs
Some flower bulbs are meant to be planted once the soil is warmer. Here’s a [...]