Category Archives: Garden Tips

Create a Pollinator Garden
What you can do? Tips for Creating a Pollinator Friendly Garden Habitat By planting a [...]

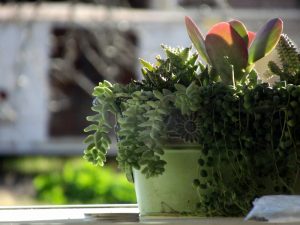
GROW THESE VEGGIES ON YOUR PATIO
As urban gardening continues to trend, container gardens are popping up everywhere! Container gardens are perfect small-space [...]

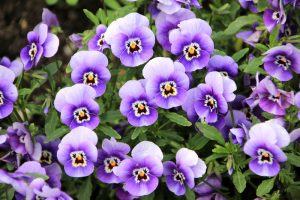
It’s Time To Plant Pansies!
Pansies are the colorful flowers with “faces.” A cool-weather favorite, pansies are great for both [...]
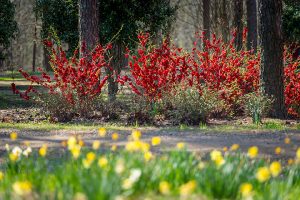
10 Essential Spring Gardening Tasks
1. Time for a spring inspection. On one of the first warm days of spring, [...]
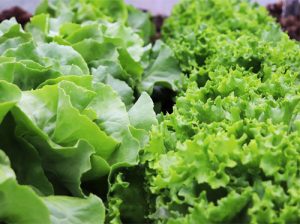
Veggies That Prefer Cool Weather
Many of the most common kinds have edible leaves or roots, like lettuce, carrots and [...]
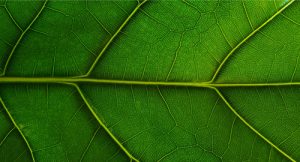
Houseplant of the Month: Fiddle Leaf Fig
The fiddle-leaf fig (Ficus lyrata) is a popular indoor specimen plant featuring very large, heavily [...]
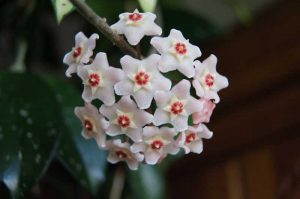
Houseplant of the Month: Hoya
Hoya have been popular house plants for decades and with good reason. They are extremely [...]